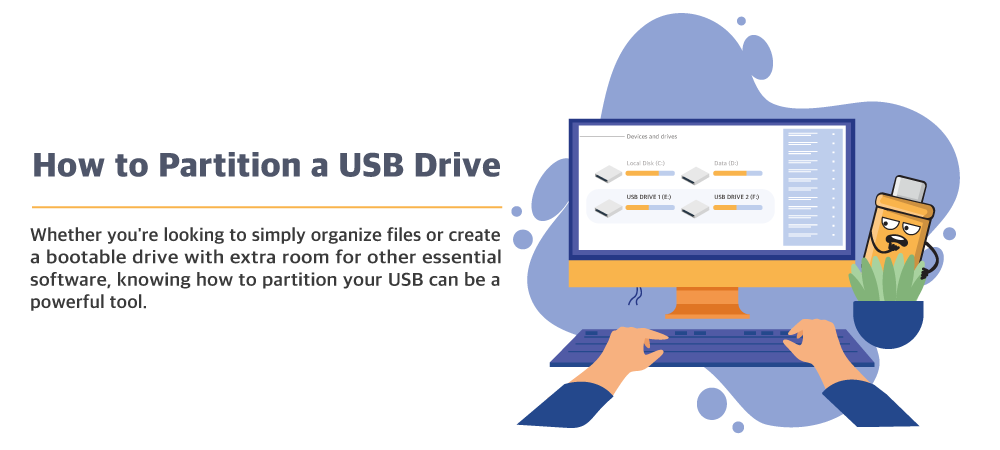
How to Partition a USB Drive
Jump to instructions for:
Windows 10
Mac OS X
Partitions are an essential part of any kind of digital hard drive storage. These digital divisions separate hard drives into separate logical volumes, and they're an important part of the basic structure of how hard drives store information. Almost everyone uses partitioned drives every day, and most of us don't think twice about it!
Sometimes, when you're organizing or reformatting your digital storage, it might be necessary to reset or change the partitions on a USB drive. Up ahead, we'll show you how to partition a USB drive on both PC and Mac, and we'll talk about a few things you should know before you get started.
What Is Partitioning a Drive?
The verb "partition" simply means "to divide into parts," and that's exactly what partitioning a drive does. It creates logical sections within the drive that can be accessed separately on your machine. Moreover, even an empty hard drive needs to have at least one partition to create the logical "container" needed for storing files.
Most data storage devices are already partitioned when you buy them. On a new computer, for example, the onboard hard drive will already be partitioned with one main volume (usually called C: on a PC).
However, many computer hard drives also contain what's called a recovery partition. A recovery partition is a small separate partition of your drive that you can access if your main drive has been damaged, corrupted, or is otherwise unusable. Recovery partitions are a perfect example of how partitions can help organize a drive and make it work better.
Why Partition Your USB Drive?
Again, you usually don't need to partition a new USB drive just to use it to store and move your files. (Order custom USB drives from USB Memory Direct and we'll even name the volumes for you!)
However, sometimes you might want to do something with a USB flash drive that requires partitioning the disk, such as:
- Creating a bootable USB stick
- Encrypting one section of your USB flash drive
- Changing the file storage format of a USB flash drive
- Organizing your USB flash drive's storage volumes
Fortunately, it's not hard to partition a USB drive yourself. In the next sections, we'll show you how!
Get Bulk Flash Drives Pre-Partitioned!

How to Partition a USB Drive
Partitioning a USB drive works slightly differently depending on what kind of host computer you use to create the partition. We'll give you instructions for both Windows 10 and Mac OS X below.
Two important notes before we begin:
- Always back up the USB drive's entire contents first. It's possible to delete some or all of the files on your USB drive during partitioning, so it's important to have a backup for anything you might delete.
- These instructions assume that you want to change the existing partitions on your USB drive, rather than deleting them and starting over with a blank partition. If that's what you want to do, use the process in our guide to resetting a USB drive.
Windows 10
- Connect the USB flash drive to your PC.
- Right-click the Start button and choose the Disk Management utility from the menu.
- Look at the sizes and volume letters of listed disks to find your USB drive.
- Determine which file system format (such as FAT32 or NTFS) the USB drive currently uses, and format it to the correct file format for your needs. Formatting the drive will delete its contents.
- Right-click the USB drive in Disk Management and choose Shrink Volume.
- Look at the amount of space available to partition. (This will vary according to your flash drive size.) Enter an amount of space that you'd like to use for new partitions and click Shrink.
- Find the newly unallocated space that just popped up in Disk Management. Right-click it and select New Simple Volume.
- Follow the wizard instructions to create a new disk volume. You'll be asked to choose a volume size, volume letter, and file storage format.
- Repeat steps 6 and 7 for as many disk partitions as you need on your USB drive.
Mac OS X
- Connect the USB flash drive to your Mac.
- Go to Applications > Utilities > Disk Utility.
- Find your USB drive where it's listed in the left-hand panel and select it.
- Click Partition in the Disk Utility toolbar. (Look for the pictogram of a pie chart.) Click Partition again in the dialogue window that appears and then click the plus sign to add a partition.
- Drag the handle on the pie chart to adjust the size of your new partition from the available space. You'll also choose a name and file system format for your new partition.
- If you want to add another partition to the USB drive, click the plus sign again and repeat step 5. When you're finished adding partitions, click Apply.
- Disk Utility will show you a summary of the changes you're about to make. Click Partition to confirm the changes and create your new partitions.
Browse All Bulk USB Drive Data Servies
USB Memory Direct is the pros' choice for custom flash drives. Be sure to also see our custom USB data services to learn about all of our options for setting up your USB drives' storage, including customized volume labels and hidden files.