How to Remove Write Protection on a USB Drive: 6 Easy Steps
Regarding frustrating tech error messages, "This drive is write protected" is right up there with the infamous "PC LOAD LETTER." You're just trying to save some files, and suddenly, your USB drive is giving you an attitude?
You could grab another flash drive, especially if you have plenty of bulk USB drives. However, if you know how write protection works, you might be able to remove it! Let's learn a little about this flash drive feature and why it exists. Then, we'll show you six easy options for removing write protection on a USB.

What Is Write Protection on a USB Flash Drive?
Write protection mode is a hardware or software feature that prevents the files on a USB drive from being removed, copied or altered. It's also known as read-only mode. While the drive is in this mode, a user can access files, but can't modify them. That means no adding files, deleting files, copying files, editing files - you get the idea.
That can seem counterintuitive. Why would you want to prevent your storage device from doing those things? It turns out there are actually some pretty good reasons, including:
- Protecting the drive from malware or viruses.
- Preventing proprietary corporate files from being distributed or modified.
- Protecting important files (like legal document backups or private crypto keys) from being deleted or stolen.

Can I Remove Write Protection from a USB Drive?
The answer depends on how the write protection on your USB drive is set up. On some drives, the write protection is configured using the mass storage controller chip firmware. At USB Memory Direct, we often add this feature at our clients' request. This write protection can't be removed, and we recommend you use another drive.
However, this isn't the case with every write protected drive. Here are six methods you can try for removing write protection on a USB drive!
Note: For techniques that involve changing the drive's properties, make sure to reboot your machine afterward!
1. Check for a write protection switch on the body of the USB drive.
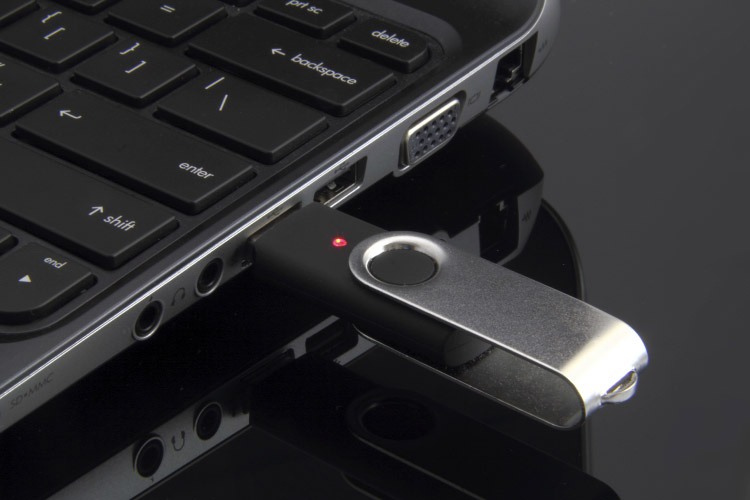
First, look for a tiny switch on the body of your drive. This is a write protection switch that puts your drive into write protect mode, and it can be easy to accidentally activate it in a pocket or backpack. All you'll need to do is flick the switch into the "off" position. Write protection switches are no longer common on new USB drives, but it's always worth checking.
2. Make sure there's enough space left on the flash drive.
In recent years, flash drive sizes have been rapidly increasing. However, on smaller units, USB drives will sometimes show up as read-only if they're running out of space. In Windows Explorer or Mac Finder, right-click the drive and look at its storage space under Properties. If the drive is almost full, try deleting some files. (You should still be able to delete files if this is the case.)
3. On a PC, edit the drive's settings in Windows Registry Editor.
Open the Windows Registry Editor from your Start menu. Follow this navigation: HKEY_LOCAL_MACHINE\SYSTEM\CurrentControlSet\Control\StorageDevicePolicies.
Here, you should see a DWORD value called WriteProtect. Double-click it to get a dialog box. In the Value Data field, enter a 0 to turn off write protection and click OK.

4. On a Mac, use Disk Utility's Repair Permissions function.
The OS X Disk Utility gives you an easy way to reset the permissions on a storage device. Just go to Applications>Disk Utility and find your drive's name in the left panel.
Click First Aid to scan the disk for errors. Click Repair Disk Permissions to reset permissions on the flash drive.
5. Use the Windows diskpart utility to remove write protection from the drive.
From the Command Prompt, type "diskpart", Enter, "list disk" and then Enter again. You'll see a numbered list of all disk volumes.
Find your USB drive by looking at the size of each volume and comparing it with your flash drive size. Type "select disk 1" or "select disk 2", etc. depending on the number Windows assigned to your USB drive. Press Enter.
Next, type this exact phrase, minus quotes: "Attributes disk clear readonly". Press Enter, wait for diskpart to do its work and then type "Exit" and Enter again.
6. Reformat the drive.
Lastly, you can also try reformatting the USB drive to remove the write protection. This will delete all of the data on the drive, so make sure anything you want to save is backed up! Use our guides to learn how to format a USB on macOS or Windows 10.
